Budget-Friendly DIY Exterior Christmas Decorations

Creating stunning exterior Christmas decorations doesn’t require a hefty budget. With a little creativity and resourcefulness, you can transform your home’s exterior into a winter wonderland using readily available and inexpensive materials. This guide offers several ideas for budget-conscious DIY exterior Christmas decorations, utilizing recycled materials and repurposed household items.
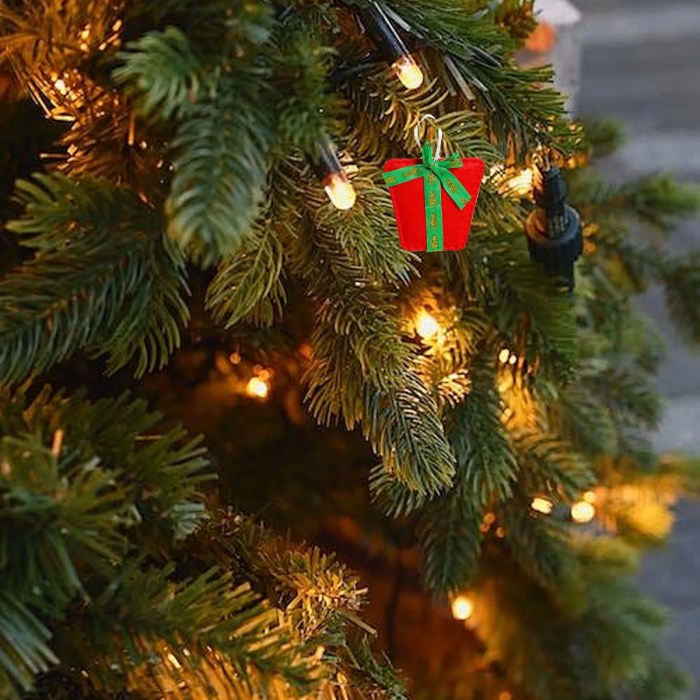
Creating DIY exterior Christmas decorations can be a fun and rewarding experience. For a personal touch, consider incorporating smaller, handcrafted elements into your larger displays; you could even create charming miniature scenes using the techniques shown in this guide on diy picture christmas ornaments. These small, personalized ornaments, once finished, can be incorporated into larger exterior displays, adding a unique, heartwarming element to your festive outdoor decorations.
Inexpensive Materials for DIY Exterior Christmas Decorations
Home improvement stores offer a wide array of affordable materials perfect for crafting festive exterior decorations. Consider these options: inexpensive string lights (LEDs are energy-efficient), inexpensive plastic sheeting (for creating unique shapes), various sizes of pine cones (easily foraged or purchased inexpensively), twine or jute rope, spray paint (in festive colors), inexpensive artificial greenery, wood scraps (from pallets or construction projects), and clear plastic ornaments (for filling with unique elements).
DIY Ornament Designs Using Recycled Materials
Transforming recycled materials into charming ornaments is both economical and environmentally friendly. Here are three unique designs:
- Recycled Jar Lanterns: Clean and dry glass jars (from pickles, sauces, etc.). Paint them with festive colors or leave them clear. Add battery-operated tea lights or small string lights inside for a warm, inviting glow. You can tie twine or ribbon around the necks for hanging.
- Pine Cone Snowmen: Gather pine cones of varying sizes. Glue smaller pine cones on top of larger ones to create snowman bodies. Use small buttons, felt scraps, or beads for eyes and a mouth. Use orange construction paper to create a carrot nose. A small twig can serve as arms.
A bit of white paint can add extra snowy detail.
- Cardboard Tube Reindeer: Use empty cardboard tubes (toilet paper or paper towel rolls). Cut the tubes in half or thirds to create different sized reindeer. Paint them brown. Use small twigs for antlers, googly eyes, and red pom-poms for noses. Attach them to a piece of wood or a larger branch for hanging.
Repurposing Everyday Household Items for Exterior Christmas Decorations
Many everyday household items can be repurposed into unique and festive exterior decorations. Here are five creative ideas:
- Wine Bottle Snowflakes: Clean and dry wine bottles. Spray paint them white. Cut out snowflake shapes from white or silver cardstock and glue them onto the bottles. Use string lights inside the bottles for a magical effect.
- Tin Can Lanterns: Clean and dry tin cans (soup cans, etc.). Punch holes in various patterns along the sides. Paint them with festive colors or leave them as is. Place battery-operated tea lights or small string lights inside. Hang them with twine.
- Plastic Bottle Snowmen: Use empty plastic bottles (soda bottles, etc.). Paint them white. Add buttons, felt scraps, or beads for eyes and a mouth. Use orange construction paper to create a carrot nose. Attach twigs for arms.
Hang them from trees or bushes.
- CD Star Ornaments: Use old CDs. Cut them into star shapes. Paint them with metallic paints or glitter glue. String them together to create a garland or hang them individually.
- Wooden Spoon Reindeer: Use wooden spoons. Paint them brown. Attach small twigs for antlers, googly eyes, and red pom-poms for noses. Hang them from a branch or railing.
Materials and Methods Summary
| Decoration | Materials | Method | Cost Estimate |
|---|---|---|---|
| Recycled Jar Lanterns | Glass jars, paint, tea lights/string lights, twine | Clean jars, paint, add lights, tie twine | Low |
| Pine Cone Snowmen | Pine cones, glue, buttons/beads, felt, orange paper, twigs, white paint | Glue cones, add features | Low |
| Cardboard Tube Reindeer | Cardboard tubes, paint, twigs, googly eyes, pom-poms | Cut tubes, paint, add features | Very Low |
| Wine Bottle Snowflakes | Wine bottles, paint, cardstock, glue, string lights | Clean bottles, paint, glue snowflakes, add lights | Low |
| Tin Can Lanterns | Tin cans, hole punch, paint, tea lights/string lights, twine | Punch holes, paint, add lights, hang | Very Low |
| Plastic Bottle Snowmen | Plastic bottles, paint, buttons/beads, felt, orange paper, twigs | Paint bottles, add features | Very Low |
| CD Star Ornaments | CDs, scissors, paint/glitter glue, string | Cut CDs, paint/decorate, string | Low |
| Wooden Spoon Reindeer | Wooden spoons, paint, twigs, googly eyes, pom-poms | Paint spoons, add features | Low |
DIY Lighting for Outdoor Christmas Decor

Creating dazzling outdoor Christmas lighting is easier and more affordable than you might think. With a little creativity and the right materials, you can transform your home’s exterior into a winter wonderland without breaking the bank. This section explores various lighting options, safe installation techniques, and cost-effective solutions for your DIY Christmas project.
Outdoor Lighting Options
Several outdoor-safe lighting options are readily available for DIY projects. Each offers unique advantages in terms of brightness, energy efficiency, and installation ease. Choosing the right type depends on your specific needs and preferences.
- LED String Lights: These are incredibly versatile and energy-efficient. They come in various colors, styles (e.g., warm white, multi-colored, icicle lights), and lengths, making them ideal for outlining roofs, wrapping trees, or creating festive borders. Their low voltage makes them safer than traditional incandescent bulbs.
- Solar Lights: Solar-powered lights are a cost-effective and environmentally friendly choice. They require no wiring, making installation simple. However, their brightness can be less intense than LED string lights, and their effectiveness depends on sunlight availability. Consider placement carefully to maximize solar exposure.
- Net Lights: These lights are pre-strung on a mesh netting, making them easy to drape over bushes, fences, or even larger areas like the sides of a house. They often come in a variety of colors and sizes.
Safe Installation of Outdoor Lighting, Diy exterior christmas decorations
Proper installation is crucial for both safety and the longevity of your lights. Different surfaces require different approaches.
- Siding: Use plastic clips or hooks designed for outdoor use to attach lights to vinyl or wood siding. Avoid piercing the siding or using staples, which can damage the material. For brick or stone siding, consider using adhesive clips or hooks designed for rough surfaces. Always check weight limits on clips and hooks to avoid damage.
- Fences: String lights can be easily secured to fences using zip ties or plastic clips. Ensure the ties are not too tight, to prevent damage to the lights or fence. For wooden fences, consider using small nails or screws, but ensure you pre-drill holes to prevent splitting the wood.
- Trees: Wrap lights gently around tree branches, avoiding wrapping too tightly, which can damage the branches. Use soft ties or clips to secure the lights where necessary. Never use nails or staples on trees.
Energy Efficiency and Cost-Effectiveness
LED lights are significantly more energy-efficient than traditional incandescent bulbs, resulting in lower electricity bills. Solar lights, while dependent on sunlight, offer the lowest operating cost as they require no electricity. The initial cost of LED lights might be slightly higher, but their longevity and energy savings make them a worthwhile investment in the long run. Solar lights generally have a lower initial cost but might require replacement more frequently.
Building a DIY Illuminated Christmas Pathway
Creating a festive pathway is a simple and effective way to enhance your outdoor Christmas decor.
- Gather Materials: You will need solar pathway lights (the number will depend on the length of your pathway), stakes or ground spikes (if not included with lights), and potentially landscaping fabric or pebbles for added aesthetic appeal.
- Plan the Pathway: Determine the route of your pathway and the desired spacing between lights. Ensure the path is relatively level and free of obstacles.
- Install the Lights: Push the stakes or ground spikes into the ground along your planned pathway, ensuring the lights are evenly spaced and at a consistent height. If using landscaping fabric or pebbles, install these after the lights are in place.
- Test and Enjoy: Turn on the lights to check their functionality and placement. Adjust as needed. Enjoy your beautifully illuminated Christmas pathway!
FAQ Guide
What are the best materials for outdoor Christmas decorations that can withstand the elements?
Weather-resistant materials like PVC, resin, and LED lights are ideal. Avoid materials that are easily damaged by moisture or extreme temperatures.
How can I prevent my outdoor lights from becoming tangled?
Use clips or hooks to secure lights to surfaces, preventing tangling and ensuring even spacing. Organize lights before storage using zip ties or similar fasteners.
What safety precautions should I take when using outdoor lighting?
Always use outdoor-rated lights and extension cords. Never overload circuits, and inspect lights regularly for damage. Avoid placing lights near flammable materials.
How do I dispose of old Christmas decorations responsibly?
Check local recycling guidelines for proper disposal of materials. Many materials can be recycled or repurposed for future projects.
